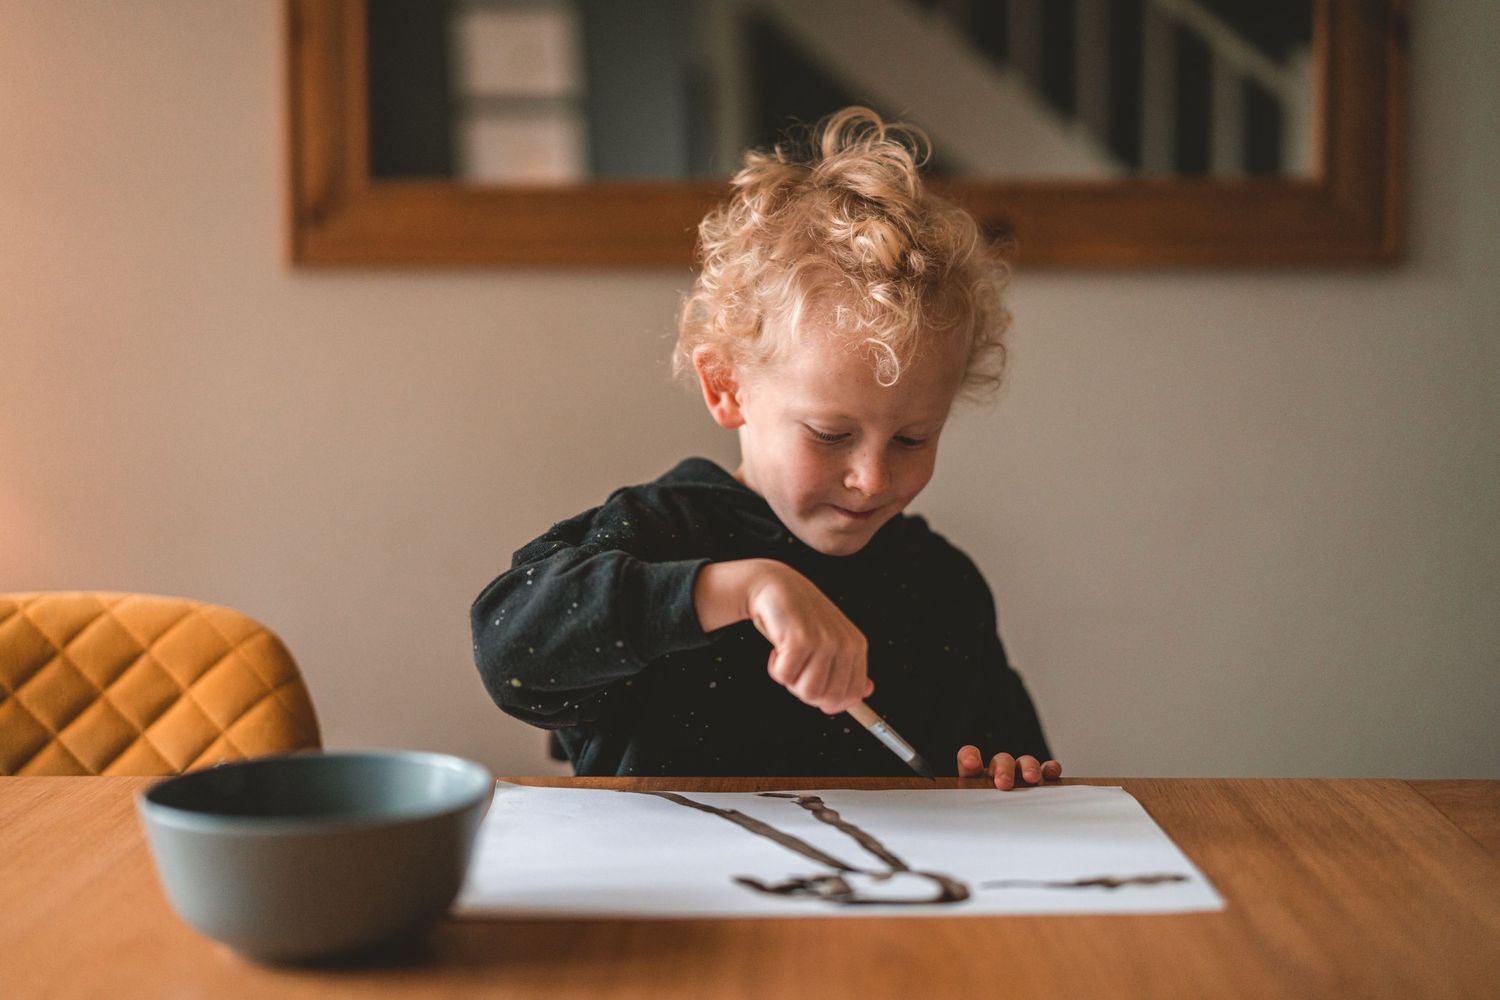
Making Shaggy Ink Cap Ink for Painting

What You'll Need
Shaggy Ink Cap Mushrooms
One or two Shaggy Ink Caps.
A Large Bowl
The Ink Caps will dissolve in the bowl, so make sure it's big enough to hold them.
Paper & Paint Brushes
For painting with the ink.
Some Salt
To fix the ink and kill any bacteria.
1. Find Some Shaggy Ink Caps!
The first thing you'll need to do is find some Shaggy Ink Caps! These mushrooms like to grow on grass. You can usually find them on golf courses, playing fields, and lawns. You may be able to find one or two in your local park, or if you're very lucky, your garden! They appear between July and October. You can find more information, here.

2. Remove Their Stalks
Shaggy Ink Caps are really interesting mushrooms. Rather than drop their spores, they turn into a thick, gloopy, inky mess instead! This happens really quickly, so start as soon as you get home with your Ink Caps! First, remove the stems of the mushrooms as these don't turn to ink.

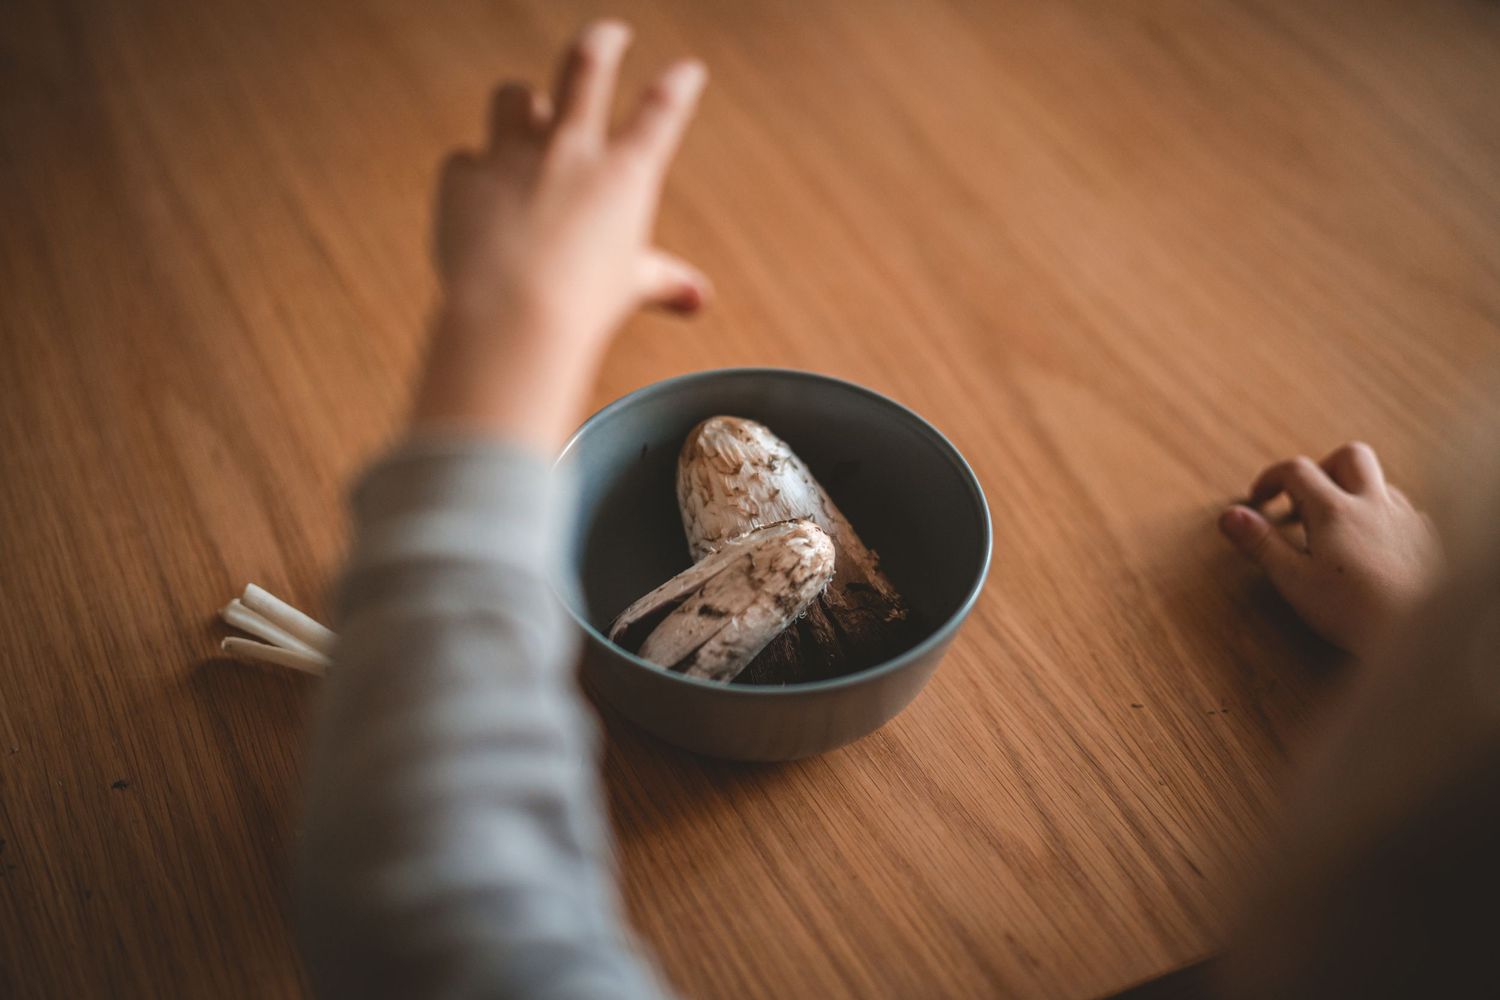
3. Place the Ink Caps in a Bowl
Put the caps in a large bowl and leave them on the kitchen worktop overnight.
4. Be Patient!
You'll have to wait a day or two for your mushrooms to start turning to ink. Be patient!

5. See Your Ink!
The next day you should have a big bowlful of ink! The mushroom will have mostly dissolved and turned into a lovely black ink. If there are any bits of mushroom left, you can remove them and throw them away. It's also a good idea to add a teaspoon of salt and mix it in well until it's all dissolved to fix the ink and stop any bacteria from forming.